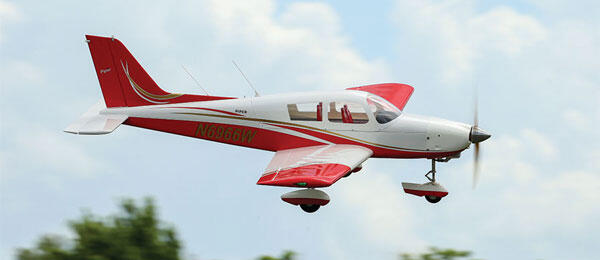
THE PIPER CHEROKEE SERIES of aircraft (aka, the Piper PA-28) arguably ranks as one of the most ubiquitous civilian aircraft in the world, second only to the venerable Cessna 172. Initially conceived as a replacement for the Piper Tri-Pacer, it morphed into a low-wing design featuring allmetal construction and wide landing gear for enhanced ground stability. It’s an extremely successful design that spawned several subvariants that are still being produced.
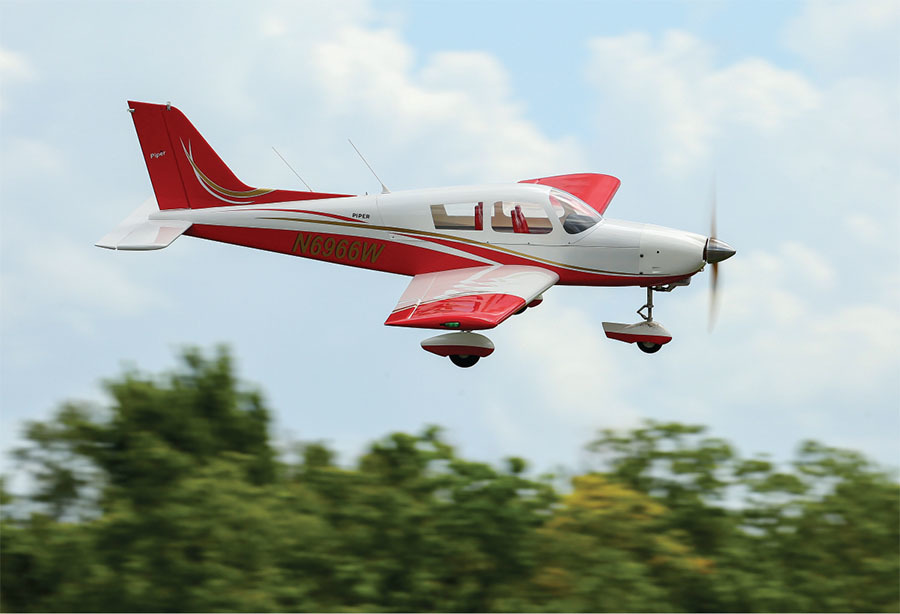
Enter Seagull Models’ take on this classic design from Legend Hobby. It’s a sport scale, traditional, balsa-and-plywood-constructed model. This is an 87-inch wingspan model meant for 35cc gas engines (or an electric equivalent). It features cockpit interior details, navigation lights, and an undercarriage with working oleo struts.
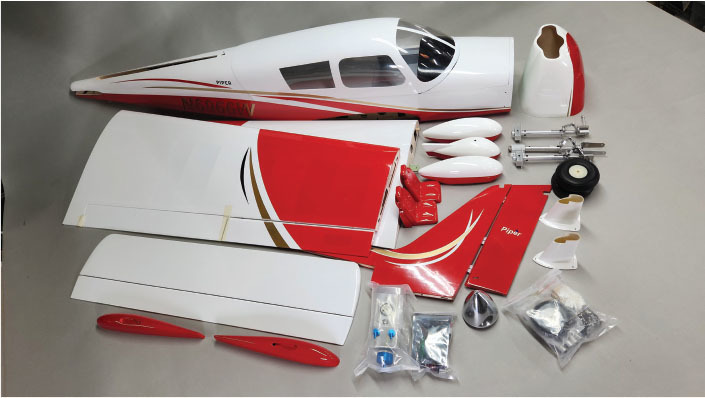
In the box, you are greeted with a striking red and white covering scheme with trim colors and lettering decals that were applied at the factory. The low-temperature covering was well-applied and wrinkle-free. The cowling, wheel pants, strut covers, and wingtips are painted fiberglass.
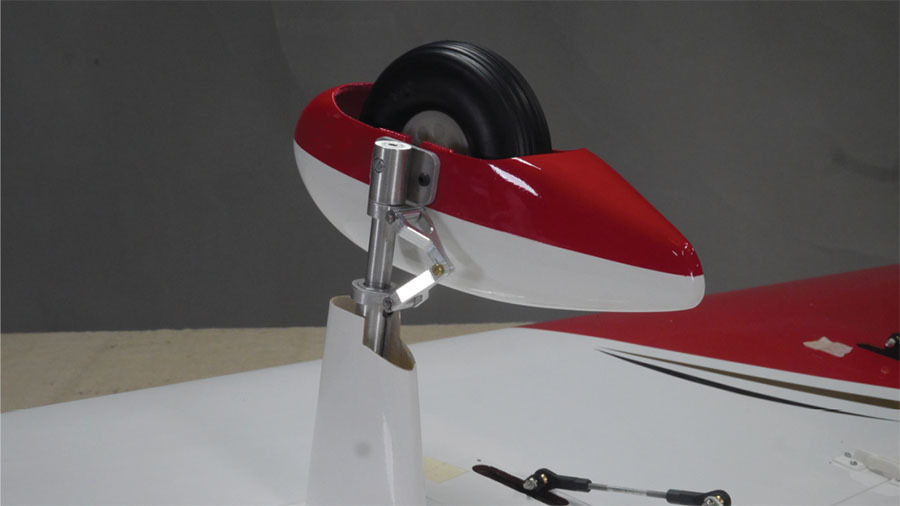
What really impressed me were the metal pieces. Included is an aluminum spinner, which is a nice touch, but the coupe de grâce is the metal landing gear with the working oleo struts. These heavyduty units really look the part, and all three struts are spring-loaded. Other things of note included in the kit are a fuel tank, chairs for the cockpit, and the previously mentioned navigation lights with a flasher module.
Assembly
Assembly starts with installing the ailerons, which use hinge-point type hinges and are installed with epoxy. These same hinges are used on the elevator. The rudder uses CA hinges, while the flaps utilize offset hinges that are affixed with screws.
I used Hitec D625MWs servos, which are rated for up to 8.4 volts. I like to use these servos because it allows me to use high-capacity, 7.4-volt LiPo batteries for both the servos and engine-ignition power. These servos can also be programmed to rotate in the opposite direction if needed. Control horns for the control surfaces are fiberglass with servo connections to control surfaces that use swivel ball links.
Installing the landing gear took a little bit of disassembly in order to slide it through the strut fairings. It required removing the mounting block from the struts. Loosening the four grub screws around the perimeter then pulling out the mounting block from the strut legs is not difficult, but it took a bit of reverse engineering.

Wiring the LED lights was interesting. You get red and green wingtip lights, a light for the front of the cowling, and a pair of lights for the tail. These all connect to a module that allows both a configurable blinking pattern for the wing (via a push-button), a separate strobe pattern for the tail, and a steady beam for the nose. The lights run off of the two-cell LiPo flight pack.
For the cockpit, you are supplied four seats that are glued in place. It’s more like two seats plus two seat backs because the two rear seats are just the backrests. Nonetheless, they look the part after they are inside of the canopy.
For the instrument panel, a decal is applied for effect. The actual canopy is a large, formed, painted, clear plastic part that is attached to the hatch frame. It can be glued to the frame, but I elected to screw it on using some small screws in case I wanted to add pilot figures later. (Note:Shown is a preproduction canopy. The production version will have corrected windows.)
Motivation is via the reliable Stinger 35cc gas engine. I’ve used this model engine quite a few times and find it reliable and powerful for its size. In this case, I used the rear-exhaust version, which requires cutting out a small amount of the bottom of the cowling. Generous openings in the front of the cowling should let in plenty of cooling air. Trimming—grinding, really—the aluminum spinner was also needed for it to fit over the propeller hub.
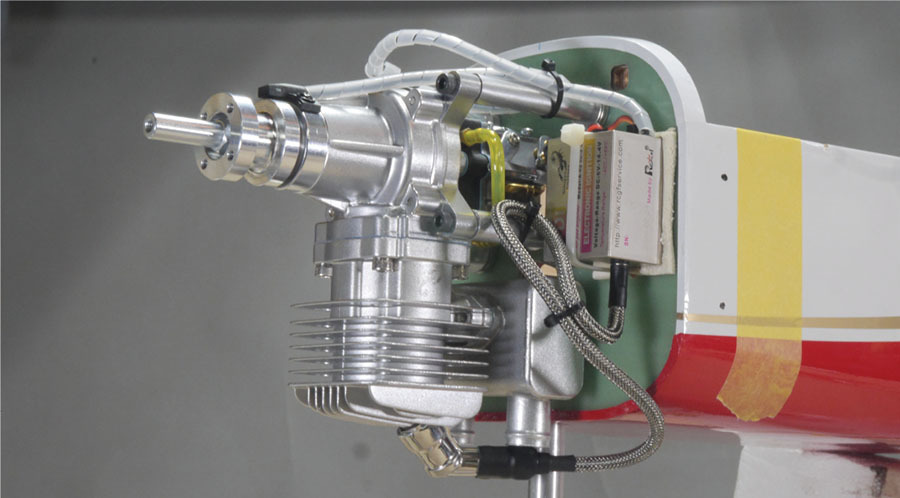
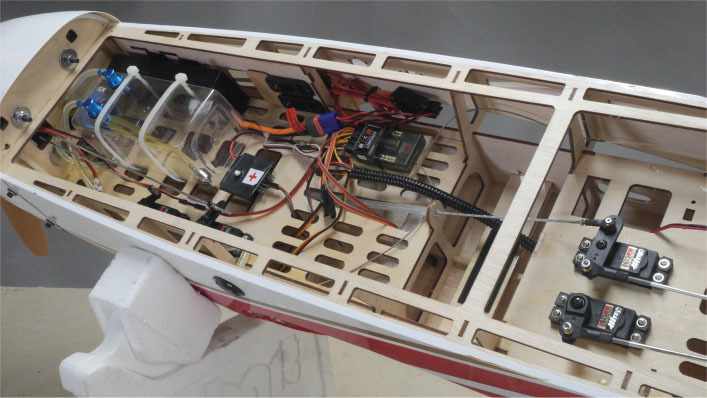
There is an extra slot in the fuselage servo tray for a remote choke servo, which I enthusiastically used. What I thought were slots for heavy-duty power switches in the servo tray proved to be too small, however, and I didn’t want to use the premade servo slots on the sides of the fuselage. I made an adapter plate from some scrap plywood to mount the switches inside the fuselage on a side wall.
I had initially planned to use a single 2S 5,000 mAh battery pack for both servo and ignition power, but needing a few more ounces in the nose for balance had me adding a second battery pack in the form of a smaller 2S 4,000 mAh pack for the ignition. Fortunately, there is plenty of room in the fuselage for the second battery next to the 17-ounce fuel tank.
Flying
With new gas-powered airplanes, I like to test them on the ground to tweak the mixture settings, check for any cooling issues, and break in the engine. After realizing that I had the servo choke control configured backward, the Stinger sprang to life, swinging the 19 × 8 wood propeller upward of 7,200 rpm. Right out of the box, the engine’s mixture settings were spot-on and I still haven’t touched them—even after several flights.
Although an 87-inch wingspan sport model powered by a 35cc engine might seem weak on paper, in real life, the Stinger pulled the Cherokee into the air quickly. It also maintained a strong climbout until I leveled out and pulled the throttle back a bit. Before the flying part, ground tracking was good and stable with a tight turning radius.
After it is in the air, the control response is quite good, but not twitchy. What had looked like a lot of aileron deflection turned out to be relatively mild in roll rate. I considered the controls to be well balanced throughout the flight envelope.
In testing, the envelope at the bottom of the performance curve involved pulling the throttle back to idle and seeing what the stall looked like. It turns out that the Cherokee has benign stall characteristics. Even with full up-elevator, it was reluctant to show any break or departing and just held attitude in a mushy descent. With flaps, the model could fly quite slowly and needed very little down-elevator mixing.
Satisfied with its slow-flying prowess, it was time to throw the sticks in the corners for some non-scalelike maneuvers. I started with a few rolls in both directions, in which the model did fine. Loops were also nice, big, and had plenty of authority. Some inverted passes, ending with a half outside loop, had me impressed with how little elevator compensation the Cherokee needed in that state.
Believe it or not, it will hold a knife-edge well, although there was no reserve rudder deflection. That stated, rudder control was fine for Hammerhead stall turns and spins. When I tried a spin, it started slightly weak then suddenly transitioned into a fast spin, as though someone had flipped a switch. Snap rolls didn’t do this because they instantly popped into a quick gyration.
The Cherokee has a good glide ratio when landing. Dropping the flaps needs little to no down-elevator mixing. I like to keep a little bit of throttle in on final approach then pull the engine back to idle after crossing the runway threshold. Feed in a slight amount of elevator to hold the nose up on flair and you will be treated to a floaty, buttery-smooth touchdown, with the shock-absorbing struts doing what they’re supposed to do.
Summary
Although not an exact scale model of the venerable Piper, Seagull’s version is a large, sharp-looking sport scale model with gentle handling characteristics. It’s a model that, while capable of some nice, lively aerobatics, is equally at home in scalelike flying and shooting touch-andgos all day. Little additions, such as interior seats and working navigation lights, also add flair to the model.
The performance is surprisingly good with a modest-size engine. The Cherokee’s short takeoff and landing performance should make the model a great choice for smaller grass fields. With a wide flight envelope yet nearly trainer-like handling, the Seagull Models Cherokee makes a terrific addition to your civilian model inventory.


Comments
Add new comment