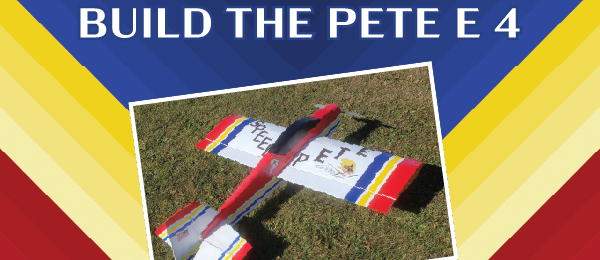
Easy to build and fun to fly
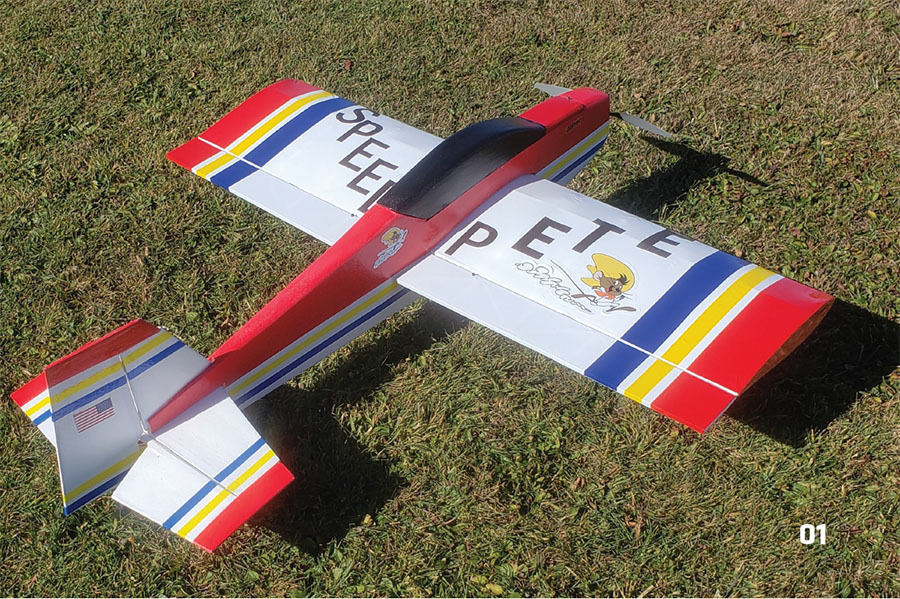
Photos by the author
Specifications
Wingspan: 42 inches
Length: 41 inches
Wing Area: 535.5 sq. in.
Weight: 2 pounds, 11 ounces
Wing Loading: 11.56 oz./sq. ft.
Pilot Skill Level: Intermediate
Equipment
Motor: Hacker A30-16
ESC: JETI 40-amp
Servos: Hitec HS-81
Battery: Admiral 3S 2,200 mAh
Propeller: APC 11 × 5.5E
Radio: Futaba Skysport 6A FM transmitter and Futaba FP-R 127DF FM receiver
Flight Time: 5 to 6 minutes of aggressive flying
This is the fourth design in the Pete E series. The models were named after my youngest son, Pete, hence the name "Pete" E. The fourth Pete E model is the latest and best of the series. It is a bit larger; with a weight of 2 pounds, 11 ounces, it handles the wind quite well. With the Hacker A30-16 motor installed, you have a real powerhouse up front—this model can do just about any aerobatic maneuver you can think of.
I am a sport pilot, so loops, rolls, spins, etc. are easy to achieve. With balsa, plywood, and foam construction, the Pete E 4 is rugged enough for flying on a grass field and will hold up a lot better than the ARF foamies that are on the market. With a bit of work, you will have a great flying model for a fraction of the cost of an ARF. If you like old-school balsa construction, you will love this design.
PURCHASE PLANS HERE OR
DOWNLOAD FREE PLANS!
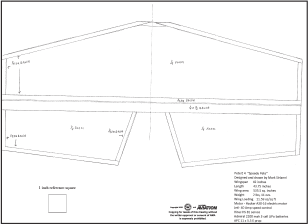
Full Size Plans
Tiled Plans
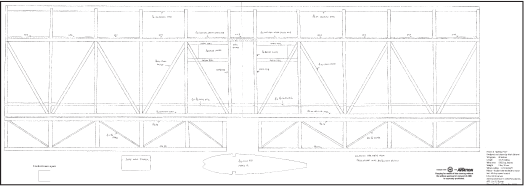
Wing
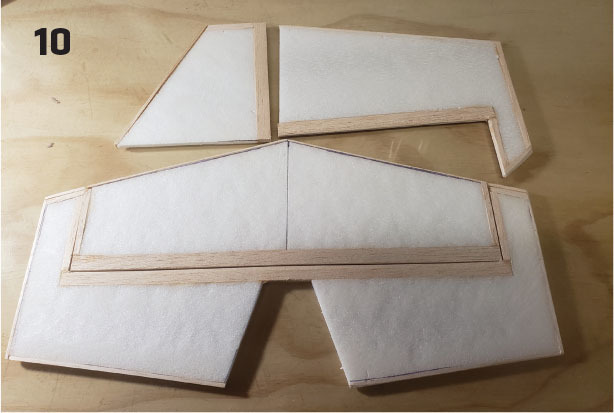
Make 12 wing ribs using 1/4-inch foam. The wing is built directly over the plans, and there is no dihedral in it. Pin the 1/4-inch square balsa bottom spar in place over the plans. Pin a piece of 1/4-inch square balsa, where noted, on the plans as the wing jig.
I used Clear Gorilla Glue to glue all 12 wing ribs to the bottom spar and to the 1/4- x 5/8-inch wing jig. This is an easy way to keep the wing straight. Glue the top spar in place. Add the 5/16-inch square leading edge and the 5/16-inch square balsa trailing edge (TE). Keep the wing firmly glued to the building board and to the jig until it is completed and dry!
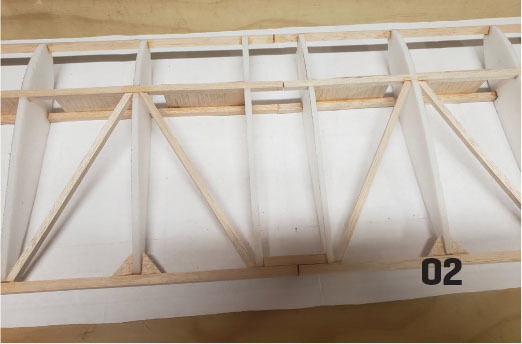
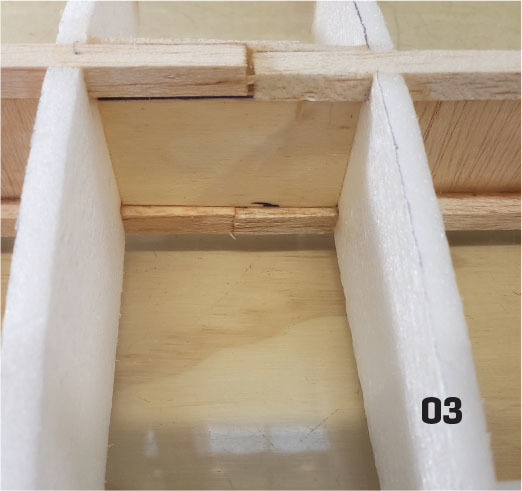
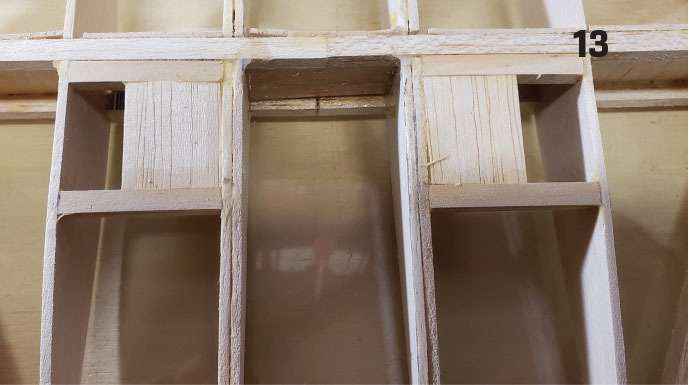
Glue the 1/4-inch square rear balsa diagonal braces in place, along with the 1/8-inch triangles on the TE. Glue the 1/8-inch light plywood center brace in place. Add the vertical-grain 1/16-inch shear webs. Go over all of the joints with a little extra glue to make sure that things are secured in place. This wing takes a lot of stress; you want to make sure that it stays in one piece!
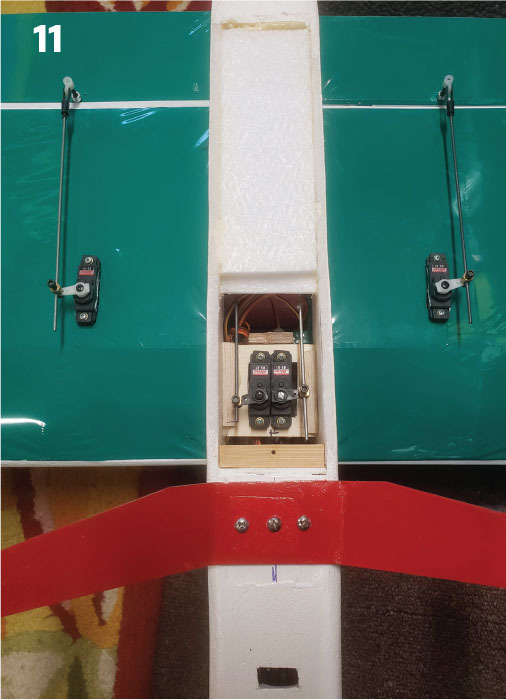
After the wing is dry, remove it from the building board and add the two spruce servo rails. Secure the makes for quick and lightweight surfaces, and it’s also easy to keep them straight and flat.
Mount the Motor to the Firewall
I have set up this model’s firewall to accommodate the Hacker brushless motor using its backplate mount. You should measure and mount your motor to the firewall with blind nuts before you glue the firewall into the fuselage. Remove the motor before you glue the firewall in place.
Fuselage
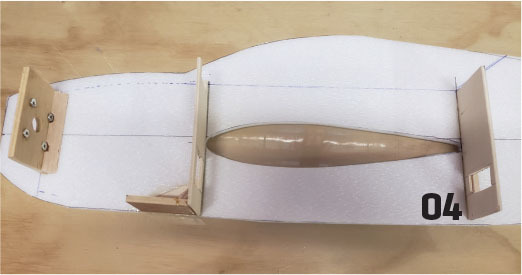
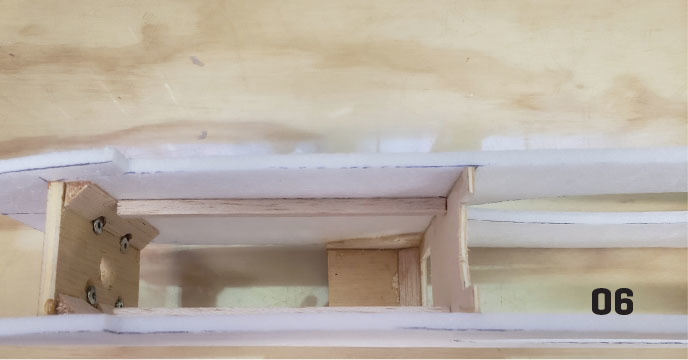
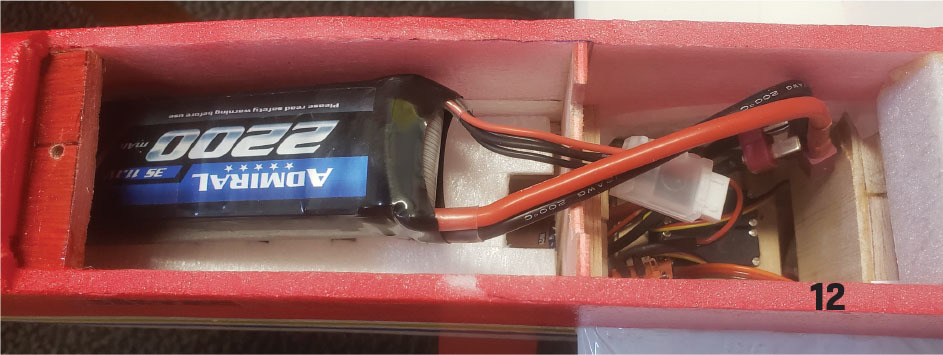
The fuselage framework is made from 1/4-inch foam. Make two sides. Mark the locations of the firewall, F2, and F3 onto the sides. Adjust the firewall position to match your motor length. Lay the right side down on the building board and glue the firewall, F2, and F3 in place. Add the 1/4-inch square balsa battery rails to both sides.
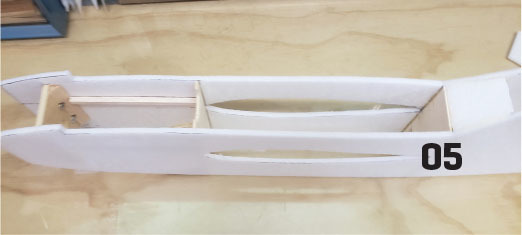
Adjust the battery position according to the one that you will use. Align the fuselage over the top view of the plans, making sure that you keep the fuselage straight with no twists. Glue the firewall, F2, and F3 in place with epoxy. When these formers are dry, glue the rear of the fuselage together. If you have built both sides exactly the same, it should line up perfectly when you pull the rear together. Add the balsa triangles behind the firewall.
Add the 1/8-inch light plywood landing gear braces on both fuselage sides then glue the 1/4-inch landing gear in place. Add the balsa triangles, as noted, as reinforcements.
Build the Canopy
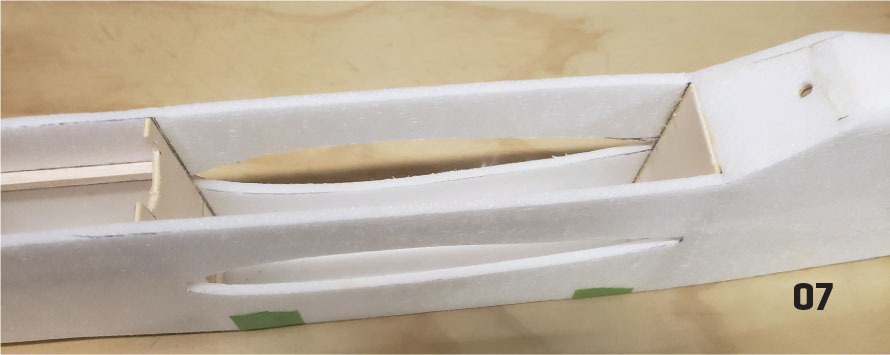
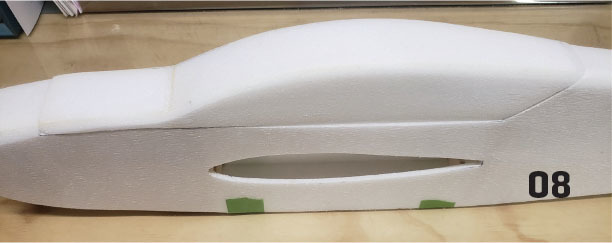
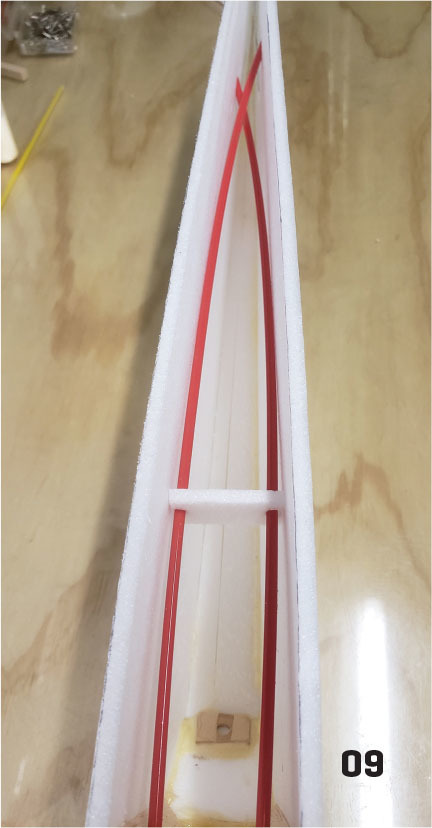
Cut the canopy section from each side of the plans. Glue the bottom to the sides, let that dry, and then add the foam back and drill and install the 1/4-inch dowel hold-down. Add the foam canopy top, and then add the foam F3a. Cut and install the top 1/4-inch foam rear top. Add Sullivan Products pushrods through the fuselage and brace them in place. After the pushrods are installed, add the rear foam fuselage bottom. Let the fuselage dry, and then sand it to shape.
Covering and Painting
Make sure when you slide the wing through the fuselage that you have a wood-to-wood joint so that you get a good glue bond. The wing and ailerons can be covered in the material of your choice. I used UltraCote for this model.
The fuselage and tail now need to be prepped for paint. I added two coats of Minwax Polycrylic finish to the fuselage and tail. This is the key to using this type of foam. The liquid really firms up the foam and seals it, allowing you to sand in between coats. It also makes a stiff and smooth surface.
I brushed the Minwax on directly from the can—no thinning was needed. Apply light coats; you need to seal the foam but also be concerned about adding weight. Remember to keep the tail as lightweight as possible. I painted the model with water-based hobby paint. I brushed it on, but you could spray it on, if desired.
I found out through practice that you can pinstripe over the paint with strips of UltraCote if you turn the iron temperature way down. I carefully cut the strips and ironed them onto the fuselage and tail for a pretty sharp, final finish. I added one final coat of Minwax to seal the paint, which also helped to keep the stripes attached.
Final Assembly
Try sliding the completed wing through the cutout in the fuselage. Sand the fuselage until it is easy to slide the wing through. Do notglue anything yet. Once the wing is in place, slide the stabilizer and elevator into position and carefully measure from the tip of the wing to the fuselage rear, making sure that the airplane lines up. Look at it from the front and see whether the stabilizer and wing are parallel. If anything looks or measures out of adjustment, now is the time to make any corrections. This airplane must be straight to fly properly.
When you are satisfied with the fit, glue the wing, stabilizers, and rudder in place. I used epoxy for this step. Cut and hinge all surfaces and glue in the hinges. Add the foam center bottom after the wing is glued in then make the bottom servo hatch.
Put the motor in position on the firewall, set the battery in, and get an idea of where the model will balance. You can use your radio receiver and servos and move it front to back until you get the desired balance point, which is located on the main wing spar.
I used a very colorful color scheme on my model. This airplane is designed to be flown low and close in a small field. You need to be able to tell up from down very quickly with this type of model.
Flying
Now for the fun part! The Pete E 4 is very easy to fly and basically goes where you point it. I fly from a grass field, so I used 3-inch Du-Bro Super Lite Wheels. This model will easily do all of the standard aerobatic maneuvers, such as loops, rolls, spins, etc. It is especially good at flying upside down. The roll rate is very fast, and if you can think of a trick, this airplane can do it. With the Hacker motor and 11 × 5 propeller, this airplane has plenty of power for just about anything you can think of.
This great model has been a big help in making me a better pilot. It is easy to fly and is big enough to handle the wind, so I was able to fly on more days because of it.


Comments
Add new comment