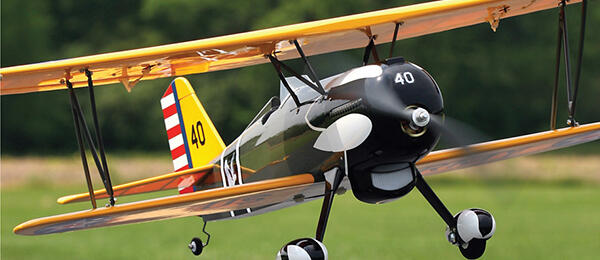
As seen in the February 2026 issue of Model Aviation.
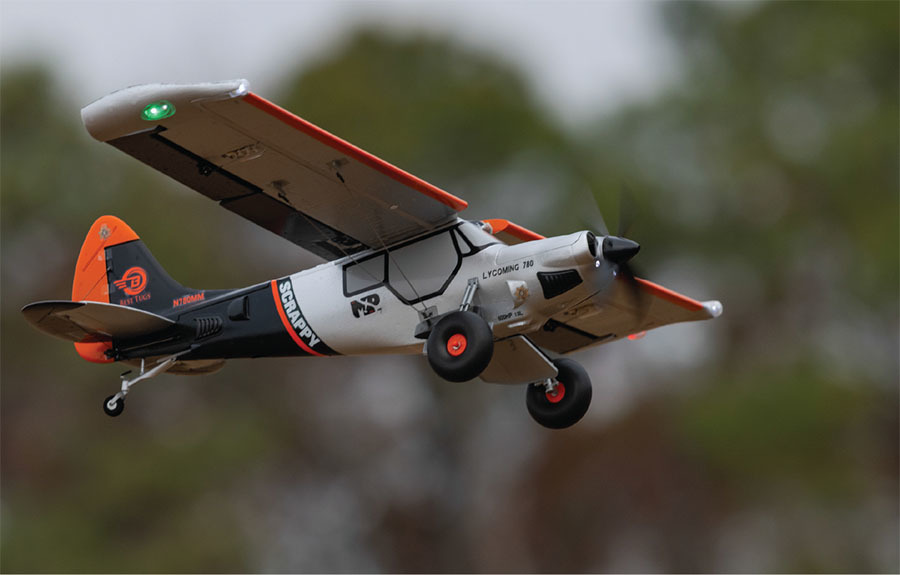
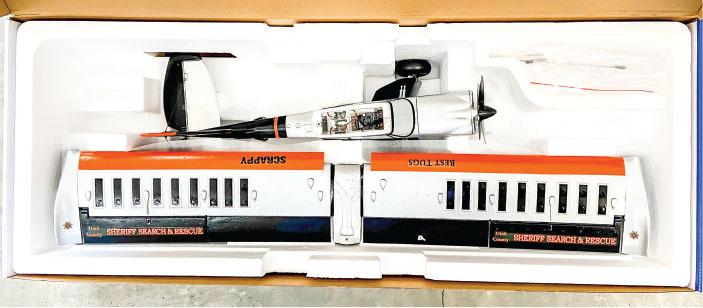
WOW! THAT WASseriously my first impression when I opened the box. This little gem is just a joy to look at with all of its molded details and functional, dual landing gear struts. It is readily apparent that when it comes out of the box, assembly will only take minutes.
Assembly
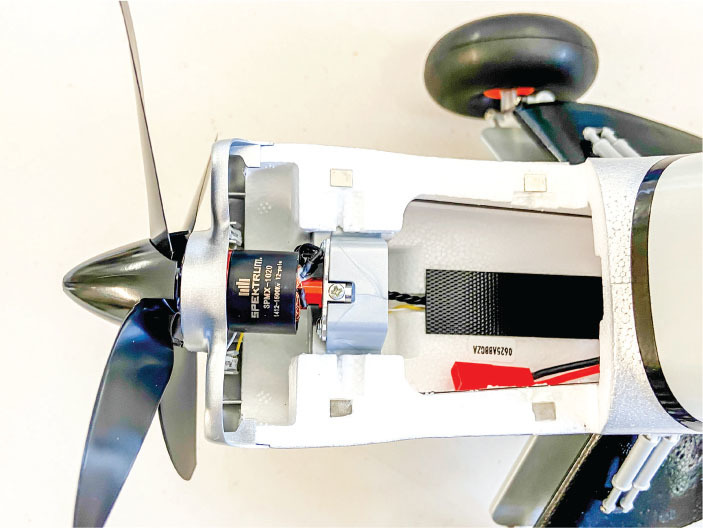
I’ll have to wax poetic if I’m to fill up much space discussing assembly because there really isn’t any of which to speak. The manual suggests approximately 5 minutes, and that’s an accurate estimate. Assembly consists of plugging a wire into the wing from the main control unit, attaching the wing with one screw, and snapping on the wing struts.
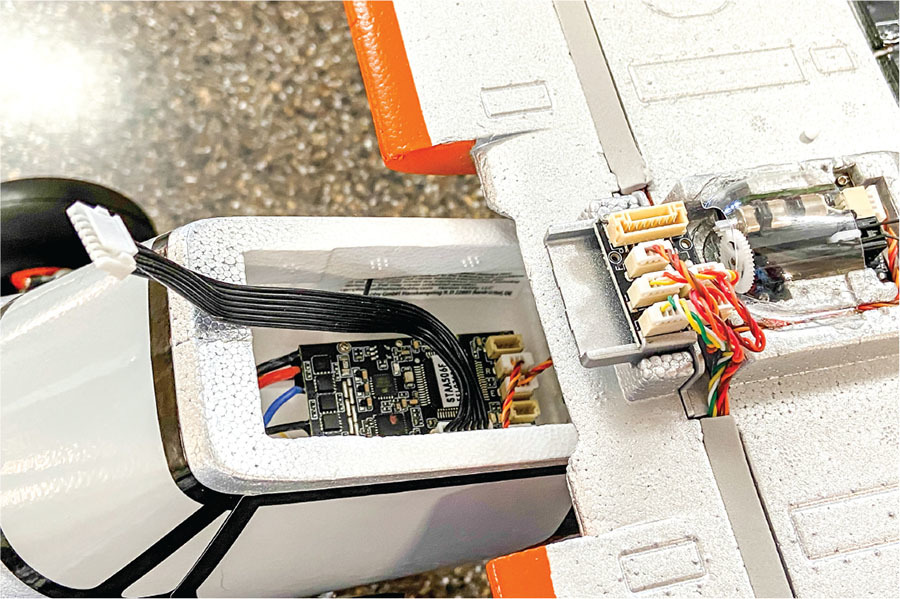
The wing servo connections are rather unique because they are all integrated into a ribbon cable with one plug, making them very clean and easy to attach. A tab on the front of the wing slides into a recess and the back is secured with a single M2 x 18mm screw.
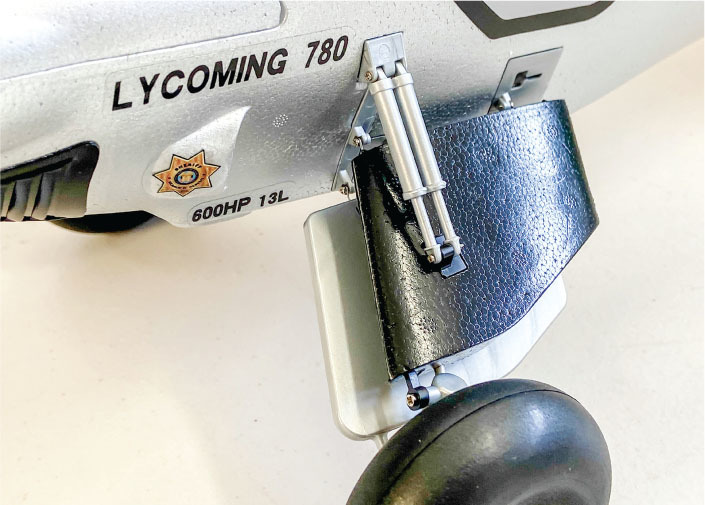
The wing struts are V-shaped, and you must study them to determine the longer leg. That leg is oriented toward the front of the wing. The tab in the bottom of the V slides into a fuselage receptacle and the two ends snap onto ball links on the wing. Bam—you’re done.
Programming, Control Throws, and CG
The manual lists the settings for various radios, so it’s quick and easy to get your transmitter set up properly. This will take more time than the actual assembly of the airplane, but it’s important to take your time and follow the steps precisely to ensure success.
I programmed mine for high, mid-, and low rates since I had three-position switches for the elevator, ailerons, and rudder. I split the difference for the mid-rate position. No specific control-surface deflections are given, so your programming provides the expected throws. I flew with the factory-recommended exponential settings, and then adjusted them to my liking.
My flap settings worked out perfectly with the switch setup being -100, 0, and +100. If you see that you’re overdriving the servo, adjust the settings to alleviate that.
My center of gravity (CG) worked out to be right in the middle of the recommended range of 35mm +/-4, without requiring any weight or adjustments.
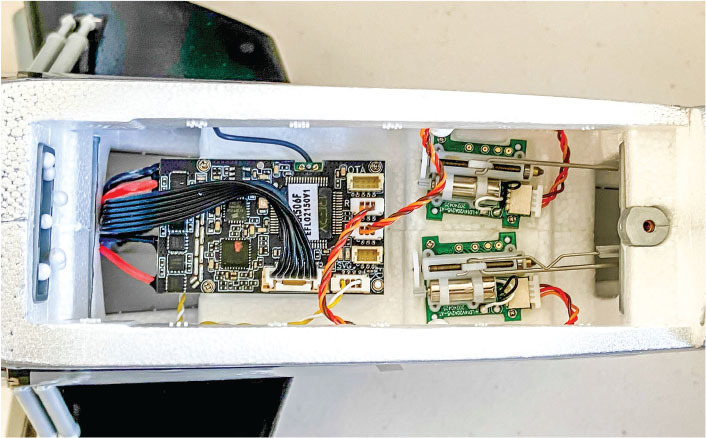
AS3X and SAFE
The system is preprogrammed to provide Sensor-Assisted Flight Envelope (SAFE) Select technology and AS3X. If you don’t want any SAFE settings, there is a procedure to deactivate it through the SAFE Select instructions. Because the receiver is "locked," you can’t go into forward programming and make any changes there. I found the SAFE settings to work well, and the AS3X settings were also to my liking. There is no way to turn both SAFE and AS3X completely off.
Flying
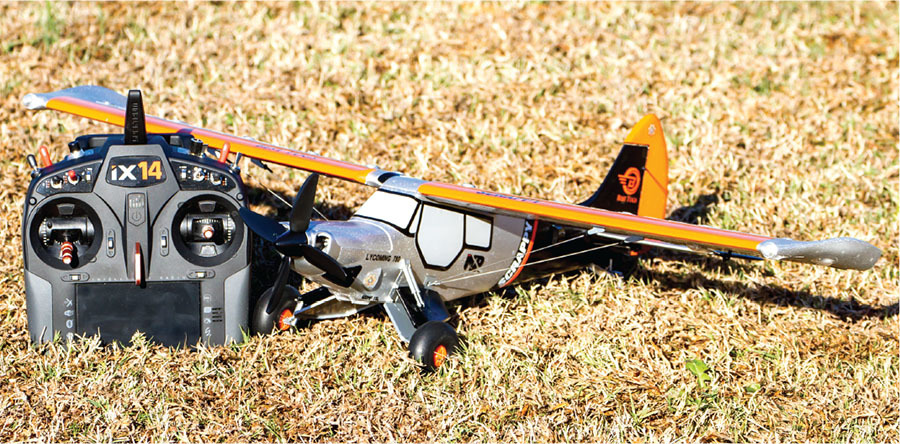
I have to admit that I felt like a kid at Christmas when I took the little Scrappy out for the first flights. The temperature was in the 40s, with a slight breeze of close to 5 mph. I decided to tempt fate and try taking off from our grass field rather than hand-launching it the first time. Fortunately, the field had recently been mowed and the tundra tires allowed it to run without nosing over.
The takeoff happened within a few feet using the 4S 300 mAh LiPo battery pack; subsequent flights with the 3S 300 mAh pack were almost as good. The climb out was gentle in SAFE mode. The flight was gentle as well and very controllable using the rudder and aileron for coordinated turns.
In high rates, with SAFE off and only AS3X active, the airplane became an aerobat! The 4S LiPo setup is extremely sporty and will challenge the novice pilot in high rates. The manual suggests performing a test flight in low rates, and I agree with that. I did my first flight starting off in mid-rates, and then I tried the other rates. The high-rate setting makes the airplane very responsive, so be forewarned. I ended up adjusting my exponential to 30% on the high-rate setting.
Both the 3S and 4S setups will provide sporty aerobatics and performance. This is not a beginner’s airplane—E-flite lists it as a "Skill Level 2" offering. On high rates, it is extremely sporty, so be aware and adjust it to your skill level. That said, it can be tamed down quite nicely if that’s what you prefer. Flaps are effective, and the airplane has a very wide range of capabilities, much like the full-scale aircraft.
All manners of aerobatics are at your command in high rates. Even in the lowrate setting, you can easily do loops and rolls; they’re just slower and require a bit more altitude for safety. Stalls are gentle enough, and spins are easily recovered from by merely centering the controls. If all else fails, flip it into SAFE and it will recover itself.
Conclusion
Mike Patey has a reputation for unique airplane designs, and this certainly falls into that category. This scale replica of his airplane is everything that I hoped it would be. It garners a lot of attention at the field and is a joy to see in the air. A friend flew the Scrappy while I photographed it and I just kept thinking, "This is so cool!" as I watched it through the zoom lens. Battery packs for it are cheap and provide a more-than-adequate flight duration. I’m a fan!
SOURCES:
Horizon Hobby


Comments
Add new comment